Run Muse Glimmer Locally with llama.cpp, DFlash, and Pi
Learn how to run Muse Glimmer 30B locally using llama.cpp with DFlash speculative decoding and the Pi coding agent for agentic workflows.
Muse Glimmer is gaining attention in the local AI community and is being compared with Qwen’s 27B-class models. In many cases, it is performing better, especially for local coding and agentic workflows.
Meta looks strong in the open-model space, and with a few more iterations, models like this could start competing closely with proprietary systems. As an AI enthusiast, it’s exciting to be able to run this level of AI locally.
In this guide, we will run Muse Glimmer with llama.cpp, speed it up with DFlash, and connect it to Pi for local vibe coding. It will be able to build, test, and debug a project directly from the terminal.
1. Downloading Muse Glimmer
First, download the main Muse Glimmer model and its DFlash drafter from Hugging Face.
Install the Hugging Face CLI:
curl -LsSf https://hf.co/cli/install.sh | bash
echo 'export PATH="/root/.local/bin:$PATH"' >> ~/.bashrc
source ~/.bashrc
Log in:
hf auth loginCreate a model directory:
mkdir -p /workspace/muse-glimmerDownload the 16.8 GB main model:
hf download meta-models/Muse-Glimmer-30B-GGUF \
  muse-glimmer-30B-kquant-17gb.gguf \
  --local-dir /workspace/muse-glimmer
Download the 1.63 GB DFlash drafter:
hf download meta-models/Muse-Glimmer-30B-GGUF \
  dflash-kquant.gguf \
  --local-dir /workspace/muse-glimmer
Both files will be saved in /workspace/muse-glimmer.
2. Installing and Running llama.cpp
Next, install llama.cpp with CUDA support and use it to serve Muse Glimmer with the DFlash drafter.
Install and build llama.cpp:
cd /workspace

git clone https://github.com/ggml-org/llama.cpp.git
cd llama.cpp
git pull origin master
cmake -B build -DGGML_CUDA=ON -DCMAKE_BUILD_TYPE=Release
cmake --build build --config Release -j$(nproc)
ln -sf "$(pwd)/build/bin/llama-server" /root/.local/bin/llama-server
You should see the installed llama.cpp version and build information.
Now start Muse Glimmer with DFlash speculative decoding:
llama-server \
  -m /workspace/muse-glimmer/muse-glimmer-30B-kquant-17gb.gguf \
  -md /workspace/muse-glimmer/dflash-kquant.gguf \
  --spec-type draft-dflash \
  --spec-draft-n-max 15 \
  -ngl all \
  --spec-draft-ngl all \
  -fa on \
  --ctx-size 16384 \
  --alias muse \
  --host 0.0.0.0 \
  --port 8080 \
  --jinja
Here, llama.cpp loads the main model and the separate DFlash drafter onto the GPU, using speculative decoding to improve generation speed.
3. Testing Muse Glimmer
Once the server is running, you can test Muse Glimmer directly through the built-in llama.cpp Web UI.
Open:
http://localhost:8080/In initial testing, generation speed reached around 46 tokens/second, which is already quite good.
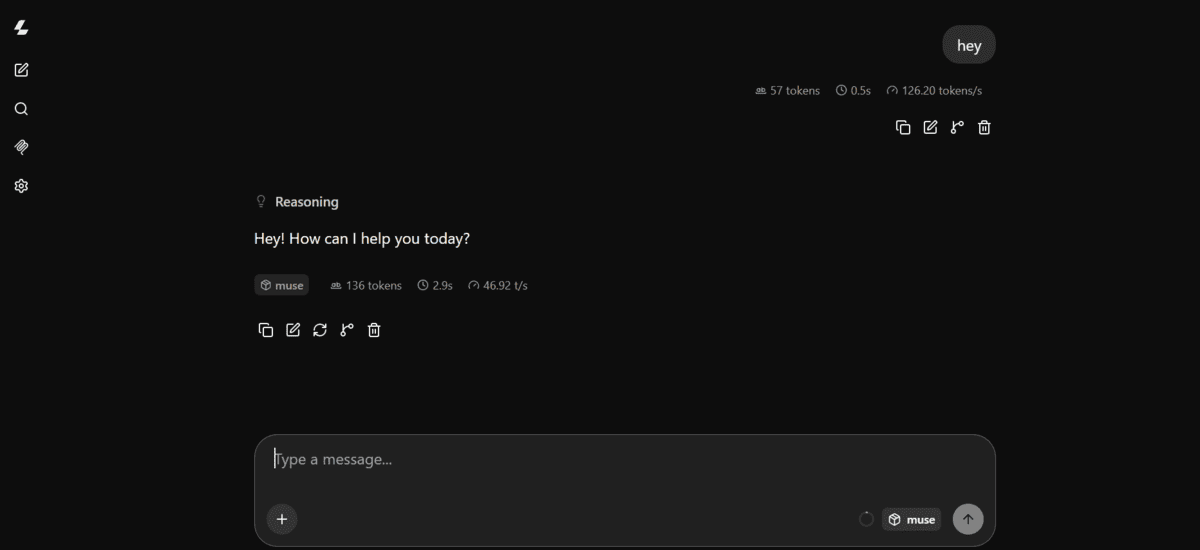
During longer coding tasks, speeds reached around 127 tokens/second, making the model feel much faster for agentic coding workflows.

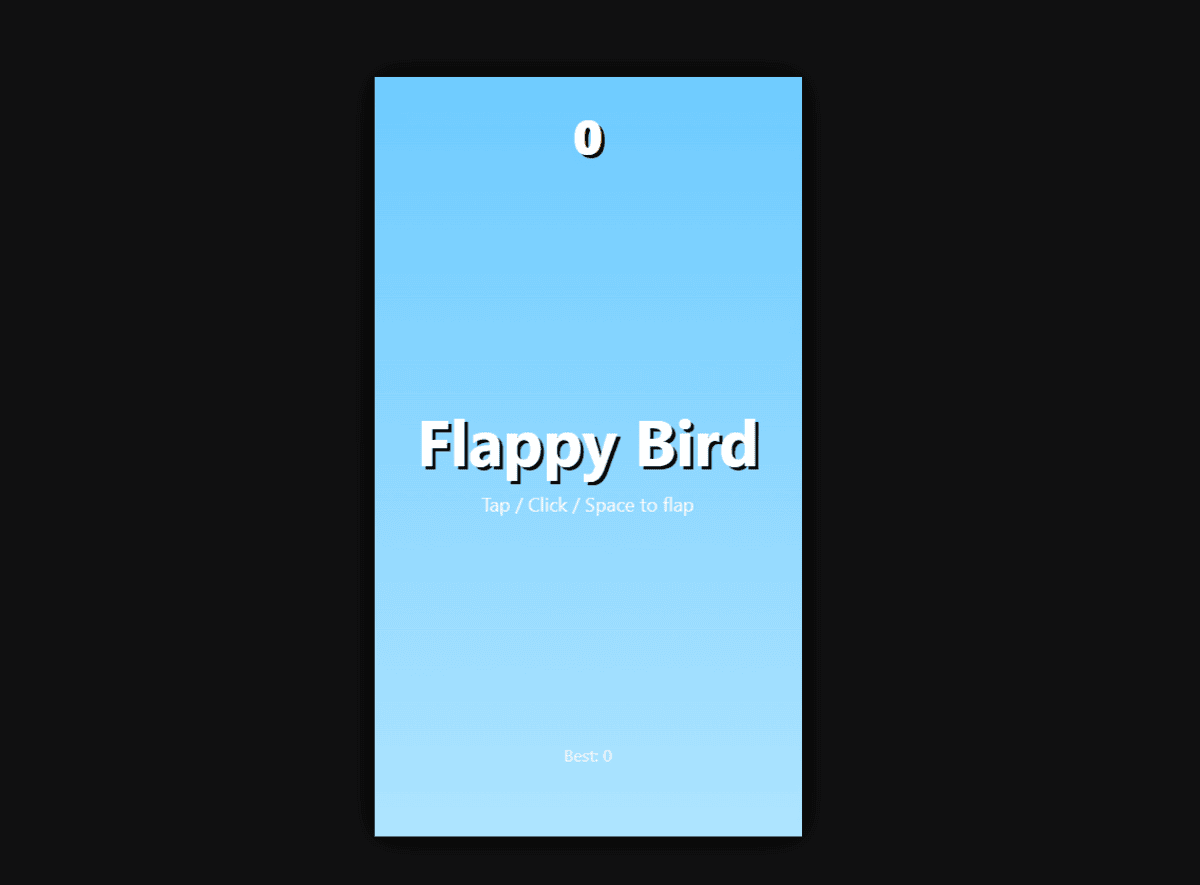
The results were mixed, though. Muse Glimmer created an HTML game, but it didn’t work particularly well. For this kind of task, Qwen3.8-27B remains noticeably better at producing working HTML apps and games.
4. Installing Pi Coding Agent
Next, install Pi and connect it to the llama.cpp server running Muse Glimmer.
Install Pi:
curl -fsSL https://pi.dev/install.sh | shThen install Hugging Face’s llama.cpp extension:
pi install git:github.com/huggingface/pi-llamaRestart your terminal after installation.
The pi-llama extension automatically connects to:
http://localhost:8080/v1It detects the models being served by llama.cpp, so you do not need to configure models.json manually.
5. Starting Local Vibe Coding
Now create a project and select Muse Glimmer as the model inside Pi.
Create an empty project:
mkdir -p /workspace/glimmer-test
cd /workspace/glimmer-test
Launch Pi:
piInside Pi, run:
/modelSearch for:
llama-cppThen select:
muse
Muse Glimmer should now be available through Pi’s llama-cpp provider.
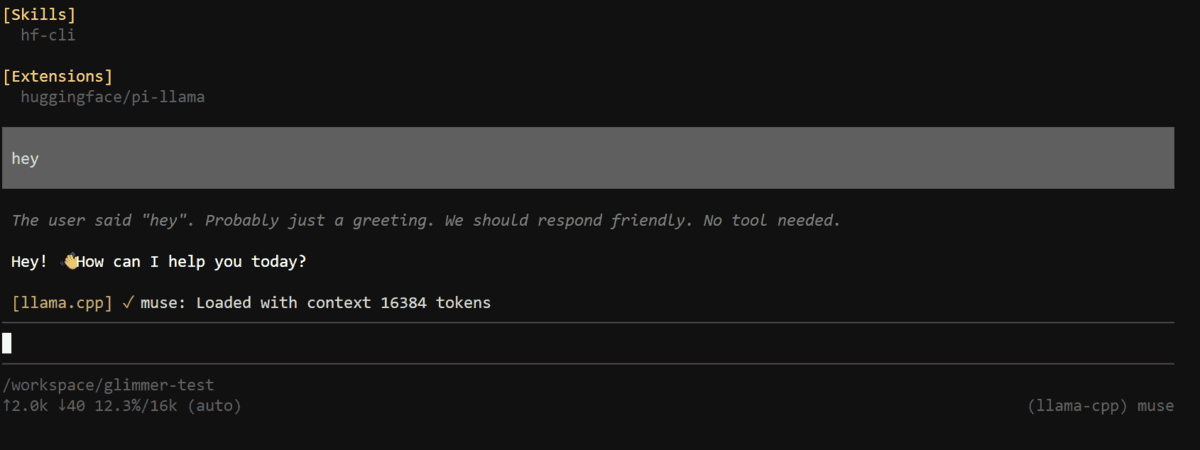
6. Testing Muse Glimmer as a Coding Agent
Finally, give Muse Glimmer a complete coding task and let it build, test, and debug the project itself.
The following prompt was used:
Build a complete Python task management API from scratch using FastAPI.
Requirements:
- Create a clean project structure.
- Add endpoints to create, list, update, and delete tasks.
- Use SQLite for persistence.
- Add input validation and error handling.
- Add pytest tests for all endpoints.
- Create requirements.txt and README.md.
- Run the tests yourself.
- Fix any errors and rerun the tests until everything passes.
Do not ask me to create files or run commands for you. Build and test the complete project yourself.
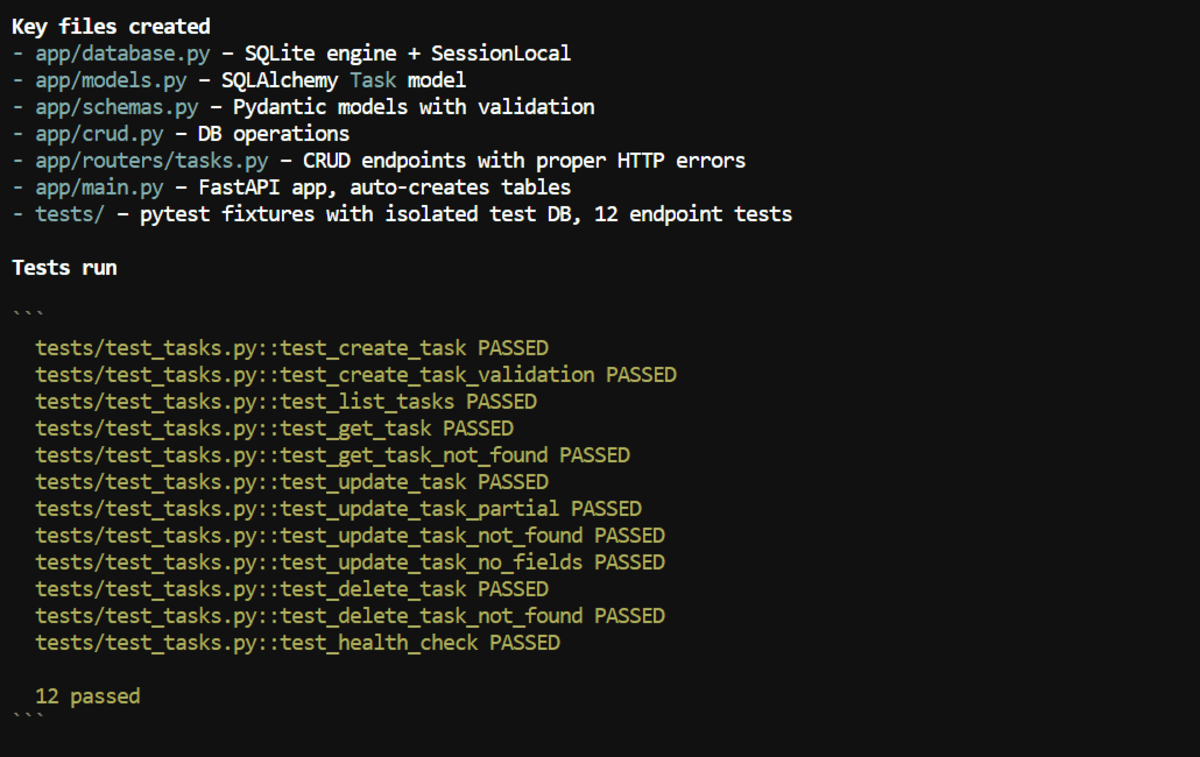
Muse Glimmer built the project in around 2 minutes.
To test it locally:
pip install -r requirements.txt
uvicorn app.main:app --reload
Open the API documentation at:
http://localhost:8000/docs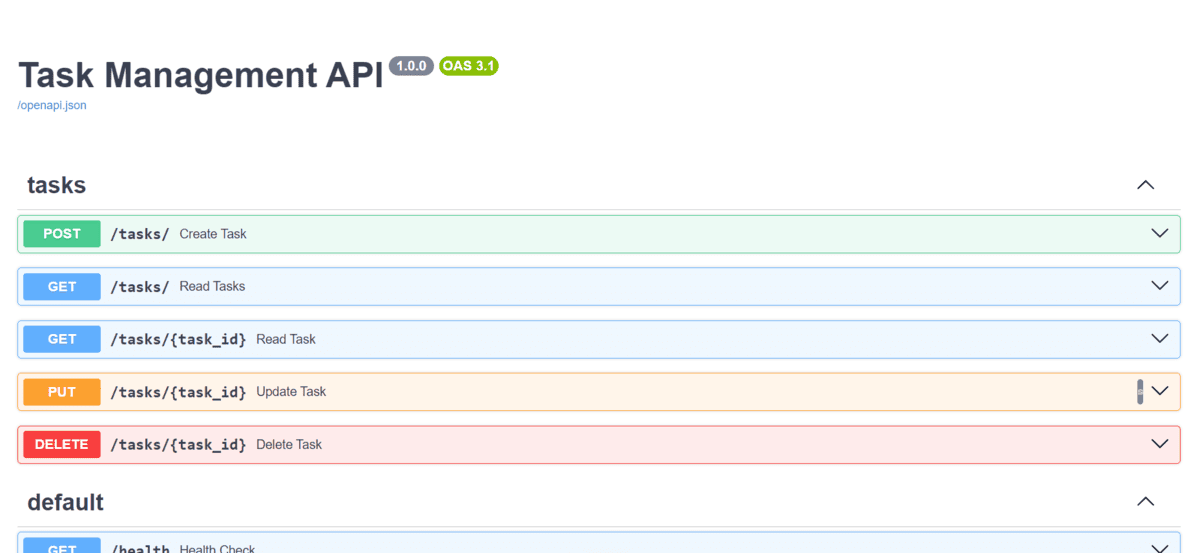
Instead of manually testing every endpoint, Muse Glimmer was also asked to test the complete API itself and produce a final report.

For local agentic coding, this is where Muse Glimmer impressed most. It was fast, handled multi-step tasks well, and took only a few seconds to identify and fix issues during debugging.
Final Thoughts
Muse Glimmer is a good indicator of how far local AI coding has come, especially when Meta provides the official model files and recommended configuration. The setup was straightforward and the model was quick to get running.
There are still a few rough edges, but as Muse Glimmer, llama.cpp, DFlash, and the surrounding tooling mature, the expectation is better results, faster speeds, and stronger agentic coding performance locally.
If you have an RTX 3090, 4090, or 5090, it is worth trying either Muse Glimmer or Qwen3.8 locally. At this point, it is becoming harder to justify paying for every AI coding request or sharing code and data with third-party services. Local models are already getting surprisingly close to the experience of proprietary models like GLM-5.2, and the next few iterations should make local AI coding even more compelling.